Around 8% of Americans suffer from bruxism, or excessive teeth grinding and jaw clenching. Considered to be a sleep-related movement disorder, this condition can affect both children and adults.
A night guard can provide much-needed relief, fitting over your teeth and gums to protect them from damaging pressure. While your dentist can create a custom-fitted one in the office, you can also make one at home. Today, we’re taking a closer look at how bruxism works, and how a DIY mouth guard can help.
What Is Bruxism?
Bruxism is a condition that causes someone to grind, clench, or gnash their teeth. If the symptoms occur during the day, it’s called awake bruxism. If they occur at night, it is sleep bruxism.
Bruxism is caused by a range of different factors that can be physical, psychological, or genetic. For instance, people who suffer from bruxism may be under an excessive amount of stress or tension. Or, it can be a habit passed down from one family member to another.
In some cases, mild bruxism will not require any treatment. However, if the condition is severe, it can negatively affect your oral health.
Many patients with bruxism also suffer from related conditions, including temporomandibular joint disorder, known as TMD or TMJ. This is a painful condition that occurs when the joint in your jaw becomes misaligned. It can also cause lock jaw, which occurs when your jaw muscles tighten so much that you cannot move your mouth.
Bruxism can cause an array of uncomfortable symptoms, including:
- Chipped, loose, or flattened teeth
- Worn tooth enamel
- Tightened or fatigued jaw muscles
- Tooth pain and sensitivity
- Neck or face pain
- Sleep disruptions
- Dull headaches
- Earaches
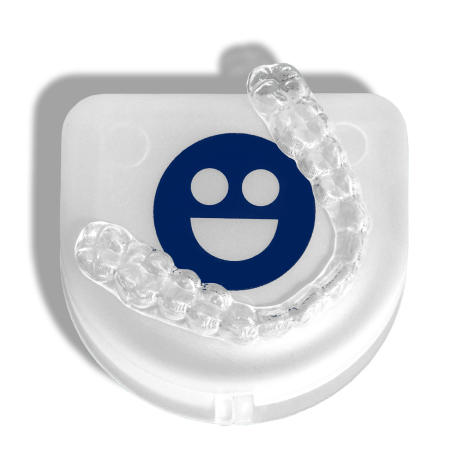
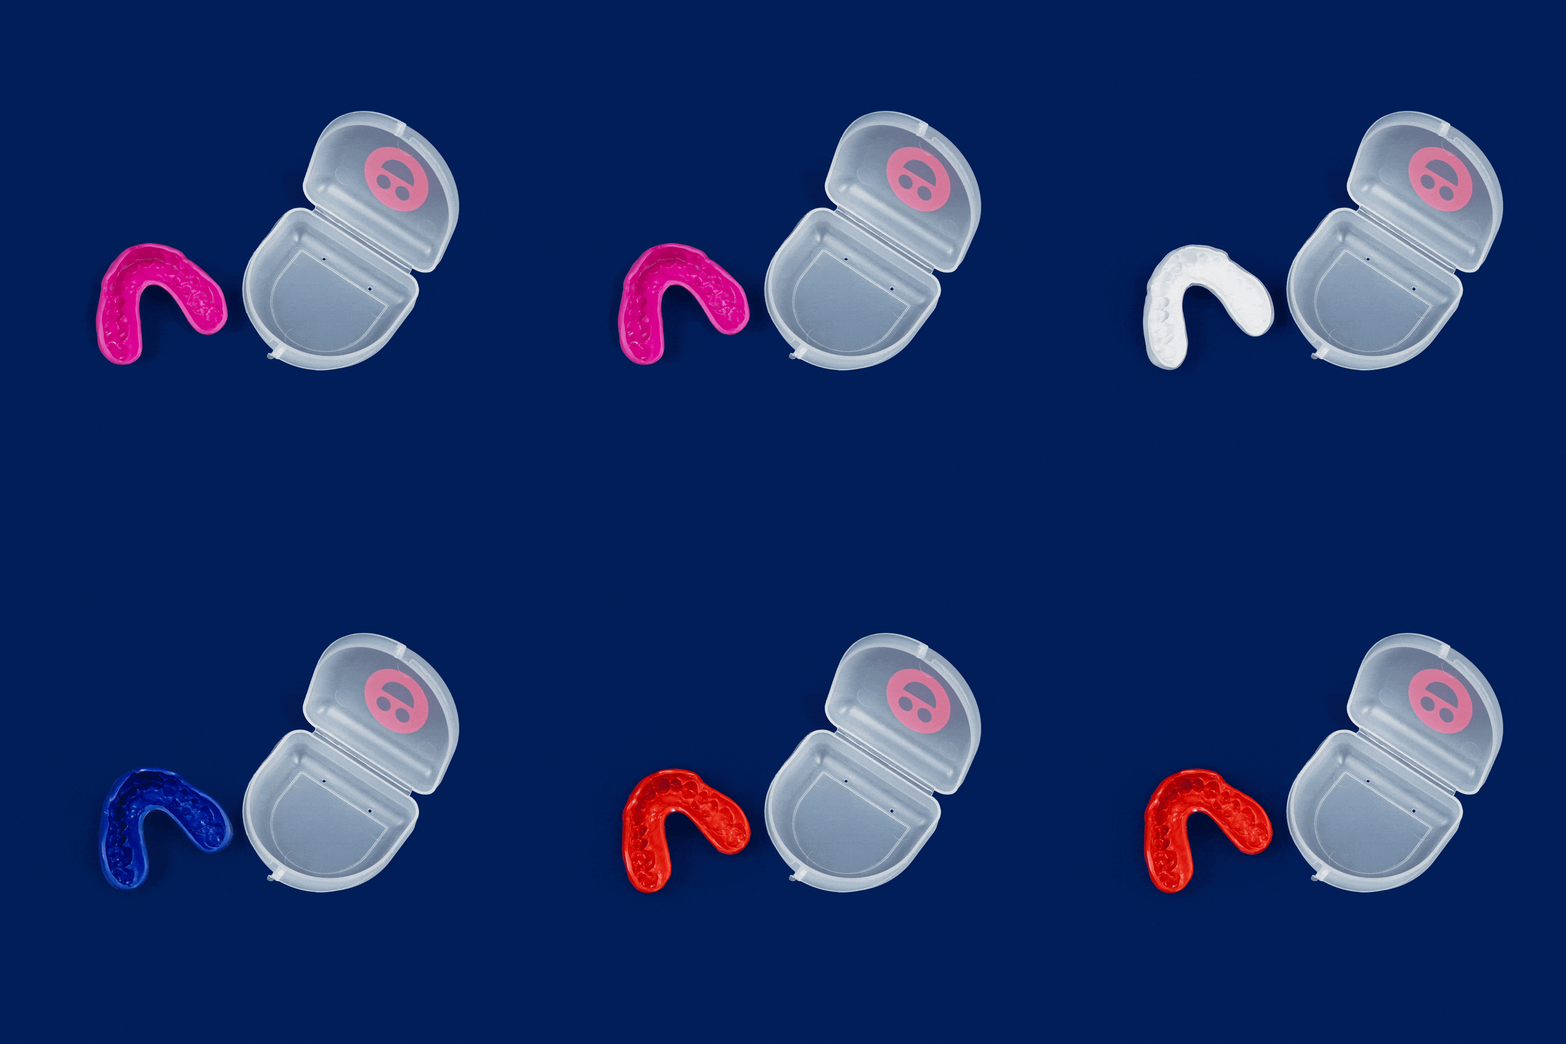
If your dentist notices any signs of bruxism at your appointment, they may recommend a night guard to help mitigate the damage. Unlike a retainer, which is designed to keep your teeth in place, a night guard is designed to protect your teeth.
While this treatment is often effective, it can also be cost-prohibitive, because insurance plans don’t always cover this service. Thankfully, you can make your own mouth guard at home! Let’s take a look at the steps to follow when you’re ready to get started.
Understanding How a DIY Night Guard Works
Before we dive into the process, it’s important to note that there are limits to the functionality of an at-home night guard. As these appliances are not tailor-made to fit your mouth, they can be a little bulkier than custom ones. In addition, a professionally-designed mouth guard will be made out of stronger materials that are better designed to withstand the constant wear and tear that bruxism puts on your teeth.
However, DIY night guards can be ideal short-term solutions for many people. They offer targeted relief and allow you to sleep more comfortably. They’re also more affordable and easier to access.
Purchase an Over-the-Counter Mouth Guard
Your first step is to purchase a mouth guard from your local pharmacy or sporting goods store. Typically, these are marketed toward athletes who are most at risk of experiencing dental trauma.
Even if you don’t play sports, take the time to research the best model available. Read online reviews, and ask your friends and family members which mouth guards they recommend. You’ll find that these models are advertised as boil-and-bite mouth guards, which describes the process used to create them.
Heat and Form the Mouth Guard
When you bring the teeth guard home, take the time to read the manufacturer’s instructions. Most models require you to boil water and add the guard to the water.
While durations can vary, you’ll usually leave the mouth guard in the hot water for around 30 seconds. Check the packaging for your specific time.
Once you’ve carefully removed the night guard from the water, allow it to cool for a few seconds until it isn’t piping hot anymore. When it’s still a little warm, you can insert it into your mouth.
While some wearers find that a bottom-fitted mouth guard is more comfortable, most people prefer to fit their mouth guards to their top row of teeth. Choose the position you prefer and press the material to create a mold, and hold it there for around 30 seconds.
Remove and Trim the Mouth Guard
When the mouth guard is fitted correctly to your teeth, you can remove it. When you do, you’ll find that there is excess material beyond where your teeth naturally form.
Use a clean pair of beauty scissors to trim away that unneeded material. If any edges feel rough, you can carefully smooth them down with sandpaper. Then, rinse the mouth guard thoroughly to get rid of any debris.
Wear and Store Your Mouth Guard
Allow your mouth guard to dry completely, and always make sure to store it in the case it came with. If it did not come with an accompanying case, then you can purchase one in the store or online. This makes it easier to keep dust and grime off your night guard, and also allows you to travel with it more easily.
Wear your mouth guard at night to protect your teeth and gums. Remove it immediately upon waking, and then rinse and dry it. Once a week, follow the manufacturer’s instructions to deep-clean the material.
Professionally-Fitted Night Guards
If the idea of buying and boiling your own night guard seems intimidating, there is an alternative. Today, you can find many online retailers that offer professional fittings from afar.
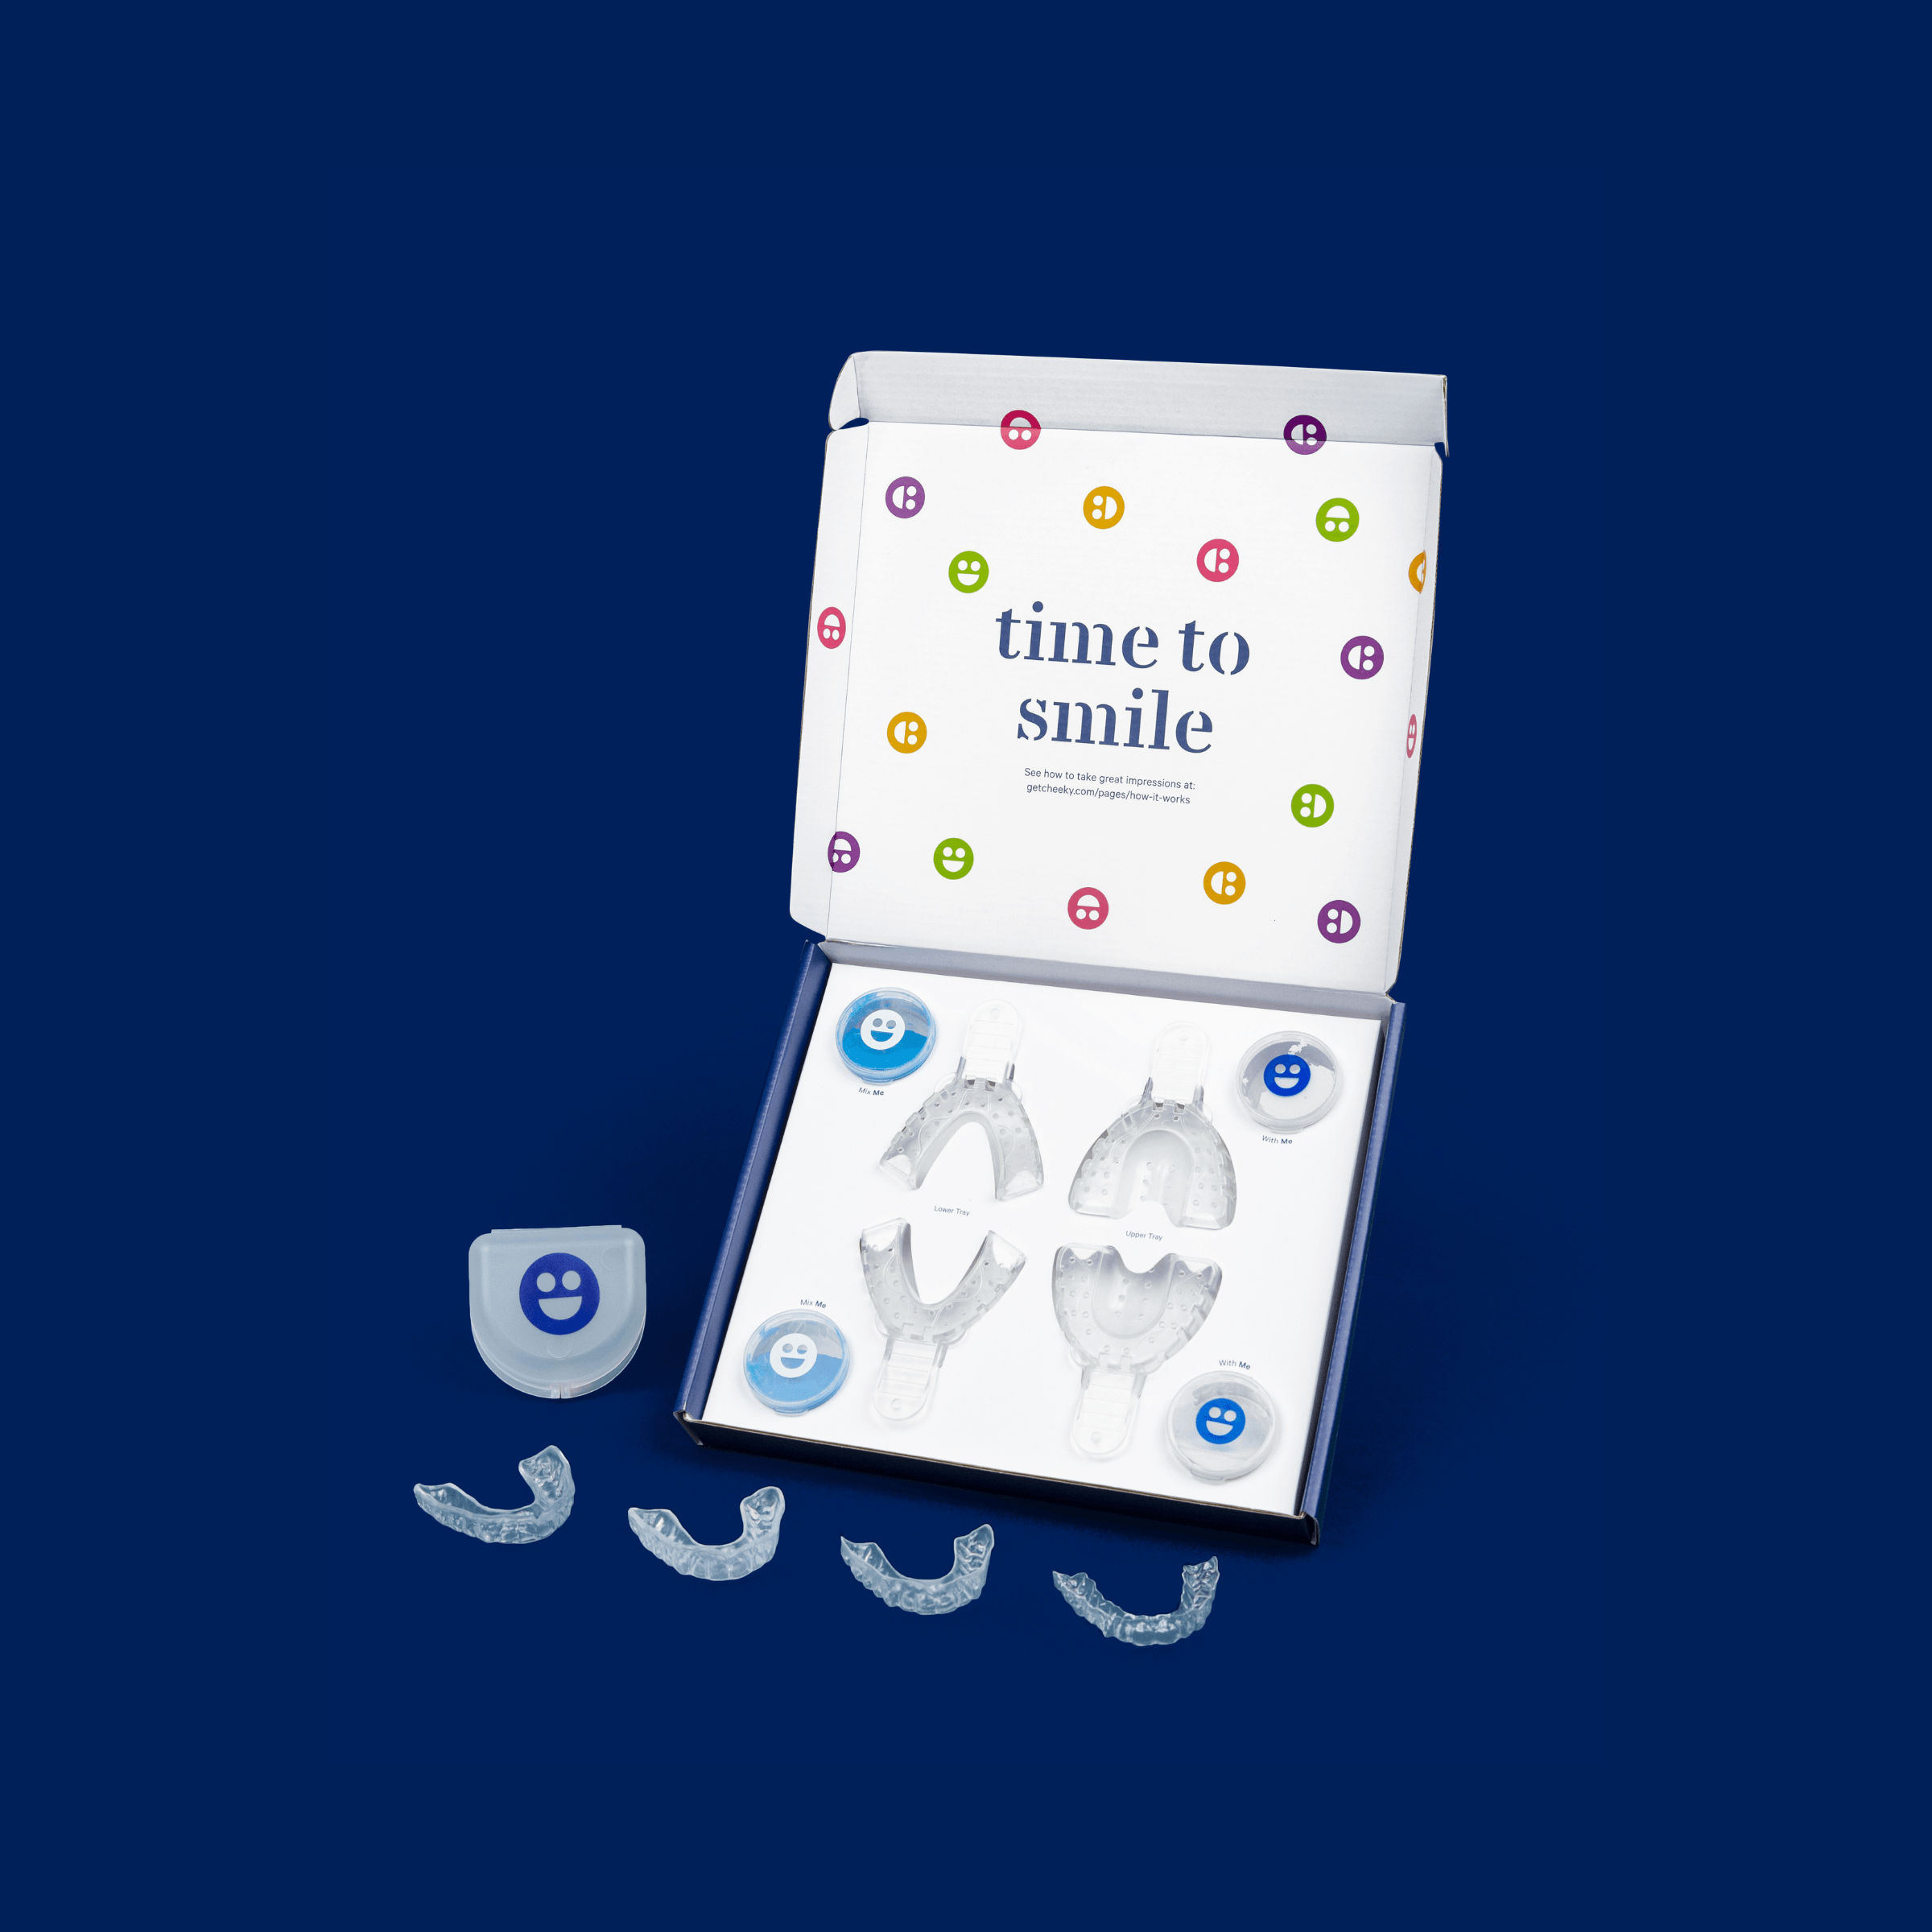
You'll begin by choosing the type of mouth guard material you prefer, and deciding whether you want to wear the mouth guard on the top or bottom row of your teeth. Then, the retailer will send impression trays to your home. Once you take impressions of your teeth, they can use those molds to create a custom-fitted night guard.
Then, they’ll mail the piece back to you so you can start using it right away! These night guards offer a little more protection and are often sturdier than the ones you can make at home.
Reduce the Effects of Bruxism With a DIY Night Guard
If you’re suffering from the symptoms of bruxism, then a DIY night guard can provide the relief you need. As long as you follow the manufacturer’s instructions, this can be a viable solution to help you enjoy a more restful night’s sleep. It can also reduce the painful side effects of teeth grinding, so your days are more comfortable, too.
Keep in mind that no treatment can replace the advice and professional support of your dentist. However, for those who are looking for an alternative to professionally-fitted mouth guards, store-bought ones can do the trick. In just a few steps, you can start to feel better and reclaim your quality of life.
The Easy Way to Take Care of Bruxism and TMD
Cheeky makes it easy and affordable to say sayonara to the pain and tension accompanying TMD and bruxism. Never deal with gross night guards again! Our custom nightguards will give you the best night of sleep you’ve had in months.
Pick your plan and customize your nightguard with Cheeky today.
